
This is written by quilt artist Katie Pasquini Masopust and Brett Barker, a fine art painter and teacher. It makes for a different kind of how-to improve your quilt design book because of this partnership in presenting the information. Basic art concepts presented with the quilter in mind. Because it is such a different medium than drawing or painting, learning to make that connection with the basics can be hard to master.
This is what I've accomplished so far from the Contour Drawing chapter.

First step is to set up a still life, lit with a strong light from one side so that you get highlights and shadows. This particular one was rather pungent, what with the very ripe banana and spicy onion. I had to restrain myself from eating that fat little mandarin orange while I was still working with the still life setup.

A blind contour drawing, where you hold a paper above the one you are drawing on so that you can't see the drawing so far. This helps keep your eye on what you're actually drawing.
You really have to concentrate on the shapes and how they relate to one another.

A contour drawing (no shading), this time able to look at the paper.
Then using pre-fused fabric, doubled up , then you freehand cut the basic shapes out, no marking, just cut with the scissors.

Then using pre-fused fabric, doubled up , then you freehand cut the basic shapes out, no marking, just cut with the scissors.
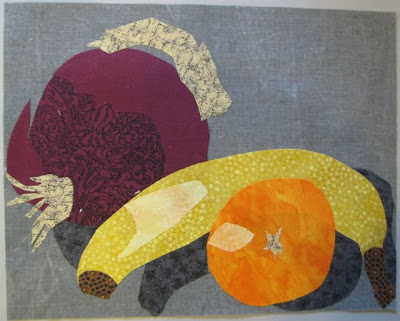
Using one set of the shapes, you make a fabric still life. Fused straight down onto the backing fabric. I found that I cut most of the pieces too big and had to trim them down to fit onto the backing fabric size. Also, don't forget to remove the paper backing from the fused fabric before you cut, I made this mistake and then had to sit there and pick it off of each and every little fiddly piece.

Using the other set of shapes you create a composition that is pleasing to your eye. This is a diagonal composition (could you tell? hope so!)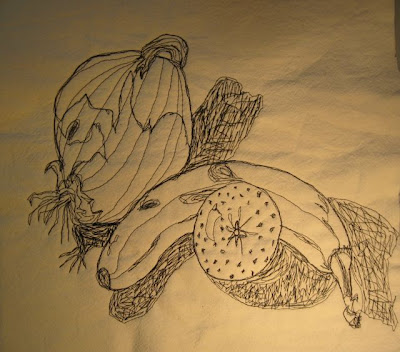

Lastly looking at the still life, you free-motion stitch directly onto a white quilt sandwich (top, batting,backing). This is quite similar to the contour drawing. Except of course, you don't draw any guide lines or marks, you are just using the sewing machine to draw. It was easier than I thought it would be.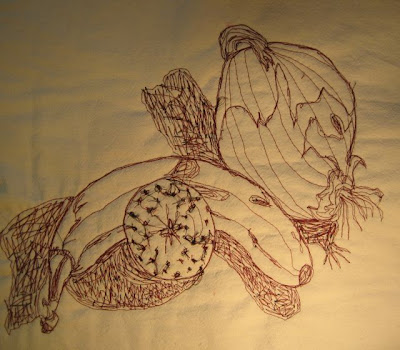

I was interested in how the reverse of the stitched still life looked.
Next chapter is Line and Shape, which I'll post about once I've actually done the exercises!
4 comments:
OMGosh! You are my total hero! I have been wanting to do something like this, but am still looking at the books and sighing. I am inspired now. Thanks for sharing and PLEASE!!! Keep sharing!
I jumped into this book also...but I'm way behind...I'm hoping I'll get moving soon and just go at it in a head rush. Yours is looking good.
These are all awesome. I bow to your prowess.
Wow, these are AMAZING! I'm just bowled over and in awe. What a good exercise, and what wonderful pieces in the end.
Post a Comment