

Several of us on the art quilting blog ring have been showing process, since I was into the process today, and my camera was nearby here goes.
Step1 - Beginning with a piece of cotton that was a failed attempt at photo transfer, the blue is what transferred, it is quite stiff and crinkly with gel medium, it also was folded, you can see the lines. I started overpainting with acrylic (golden yellow).
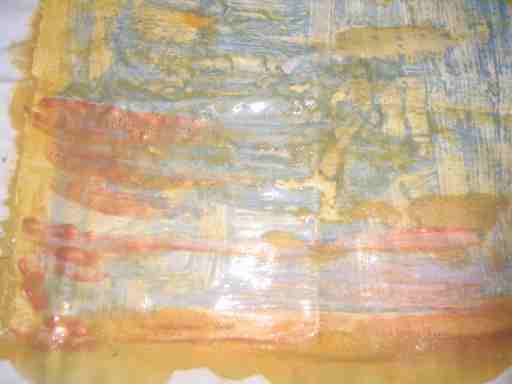
Step 2 - Keep painting, now with metallic copper.

Step 3 - Added some gold, really old drippy paint, got too wet, I'm impatient so out comes the heat gun.

Step 4 - A closeup shot, so you can see the texture.
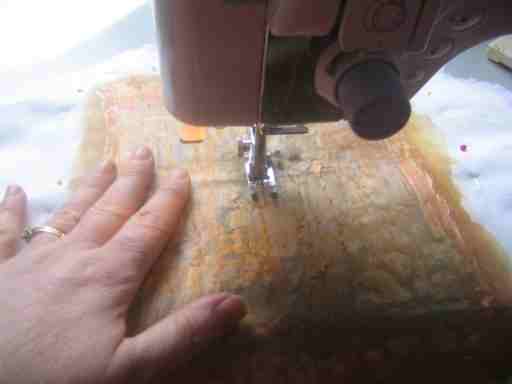
Step 5 - Layered with batting and back, I begin stitching. Even after ironing those folds are still showing and I don't like them! Solve it with Stitch (ooh, a possible book title).
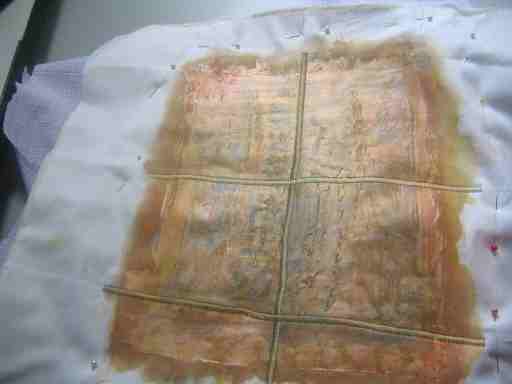
Step 6 - A kinda grid of big satin stitch with a gold rayon thread.
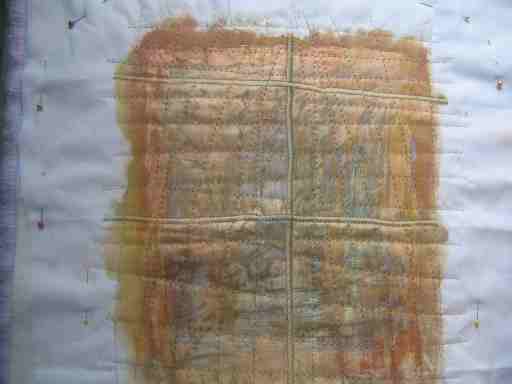
Step 7 - Straight stitching over the top.
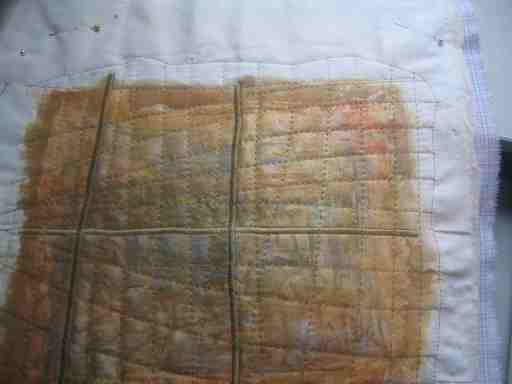
Step 8 - Start of an outline connecting the beginning spot of each straight stitch line.
Step 9 - Did two sides, didn't like it, time for the frog stitch (rippit rippit).

Step 10- There's a better outline. This is two rayon threads, the gold and a dark khaki green, around and around entertwining.

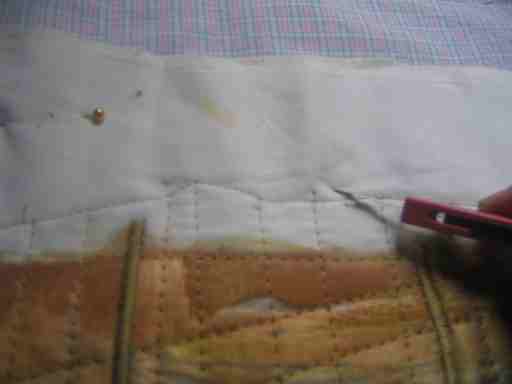
Step 11 - Trimmed the backing to the stitch lines. Ripped the white fabric along the stitch lines on the front, and then pull/ripped the batting.
Voila', done! Title: "Precious Residue". About 13"x13"
5 comments:
Cool piece.. and fun to watch the process.
Now.. whatcha gonna do with that? (ducks)
I loved seeing the process of Precious Residue. I have finally decided to comment after reading your blog for quite some time. I am not a quilter but enjoy the beauty of them. Thanks for always having an interesting and inspiring blog.
Julie - this is truly a silk purse from a sow's ear! Amazing how you transformed this into something wonderful. I love watching the process of artwork evolving - thanks for sharing.
oooh, I love what the satin stitch did to the other quilting lines and the color. Great piece and loved the process also.
Ooo! Love it! Thanks for sharing your process!
Post a Comment