Showing posts with label printing. Show all posts

Friday, December 09, 2022

Juicy Practice


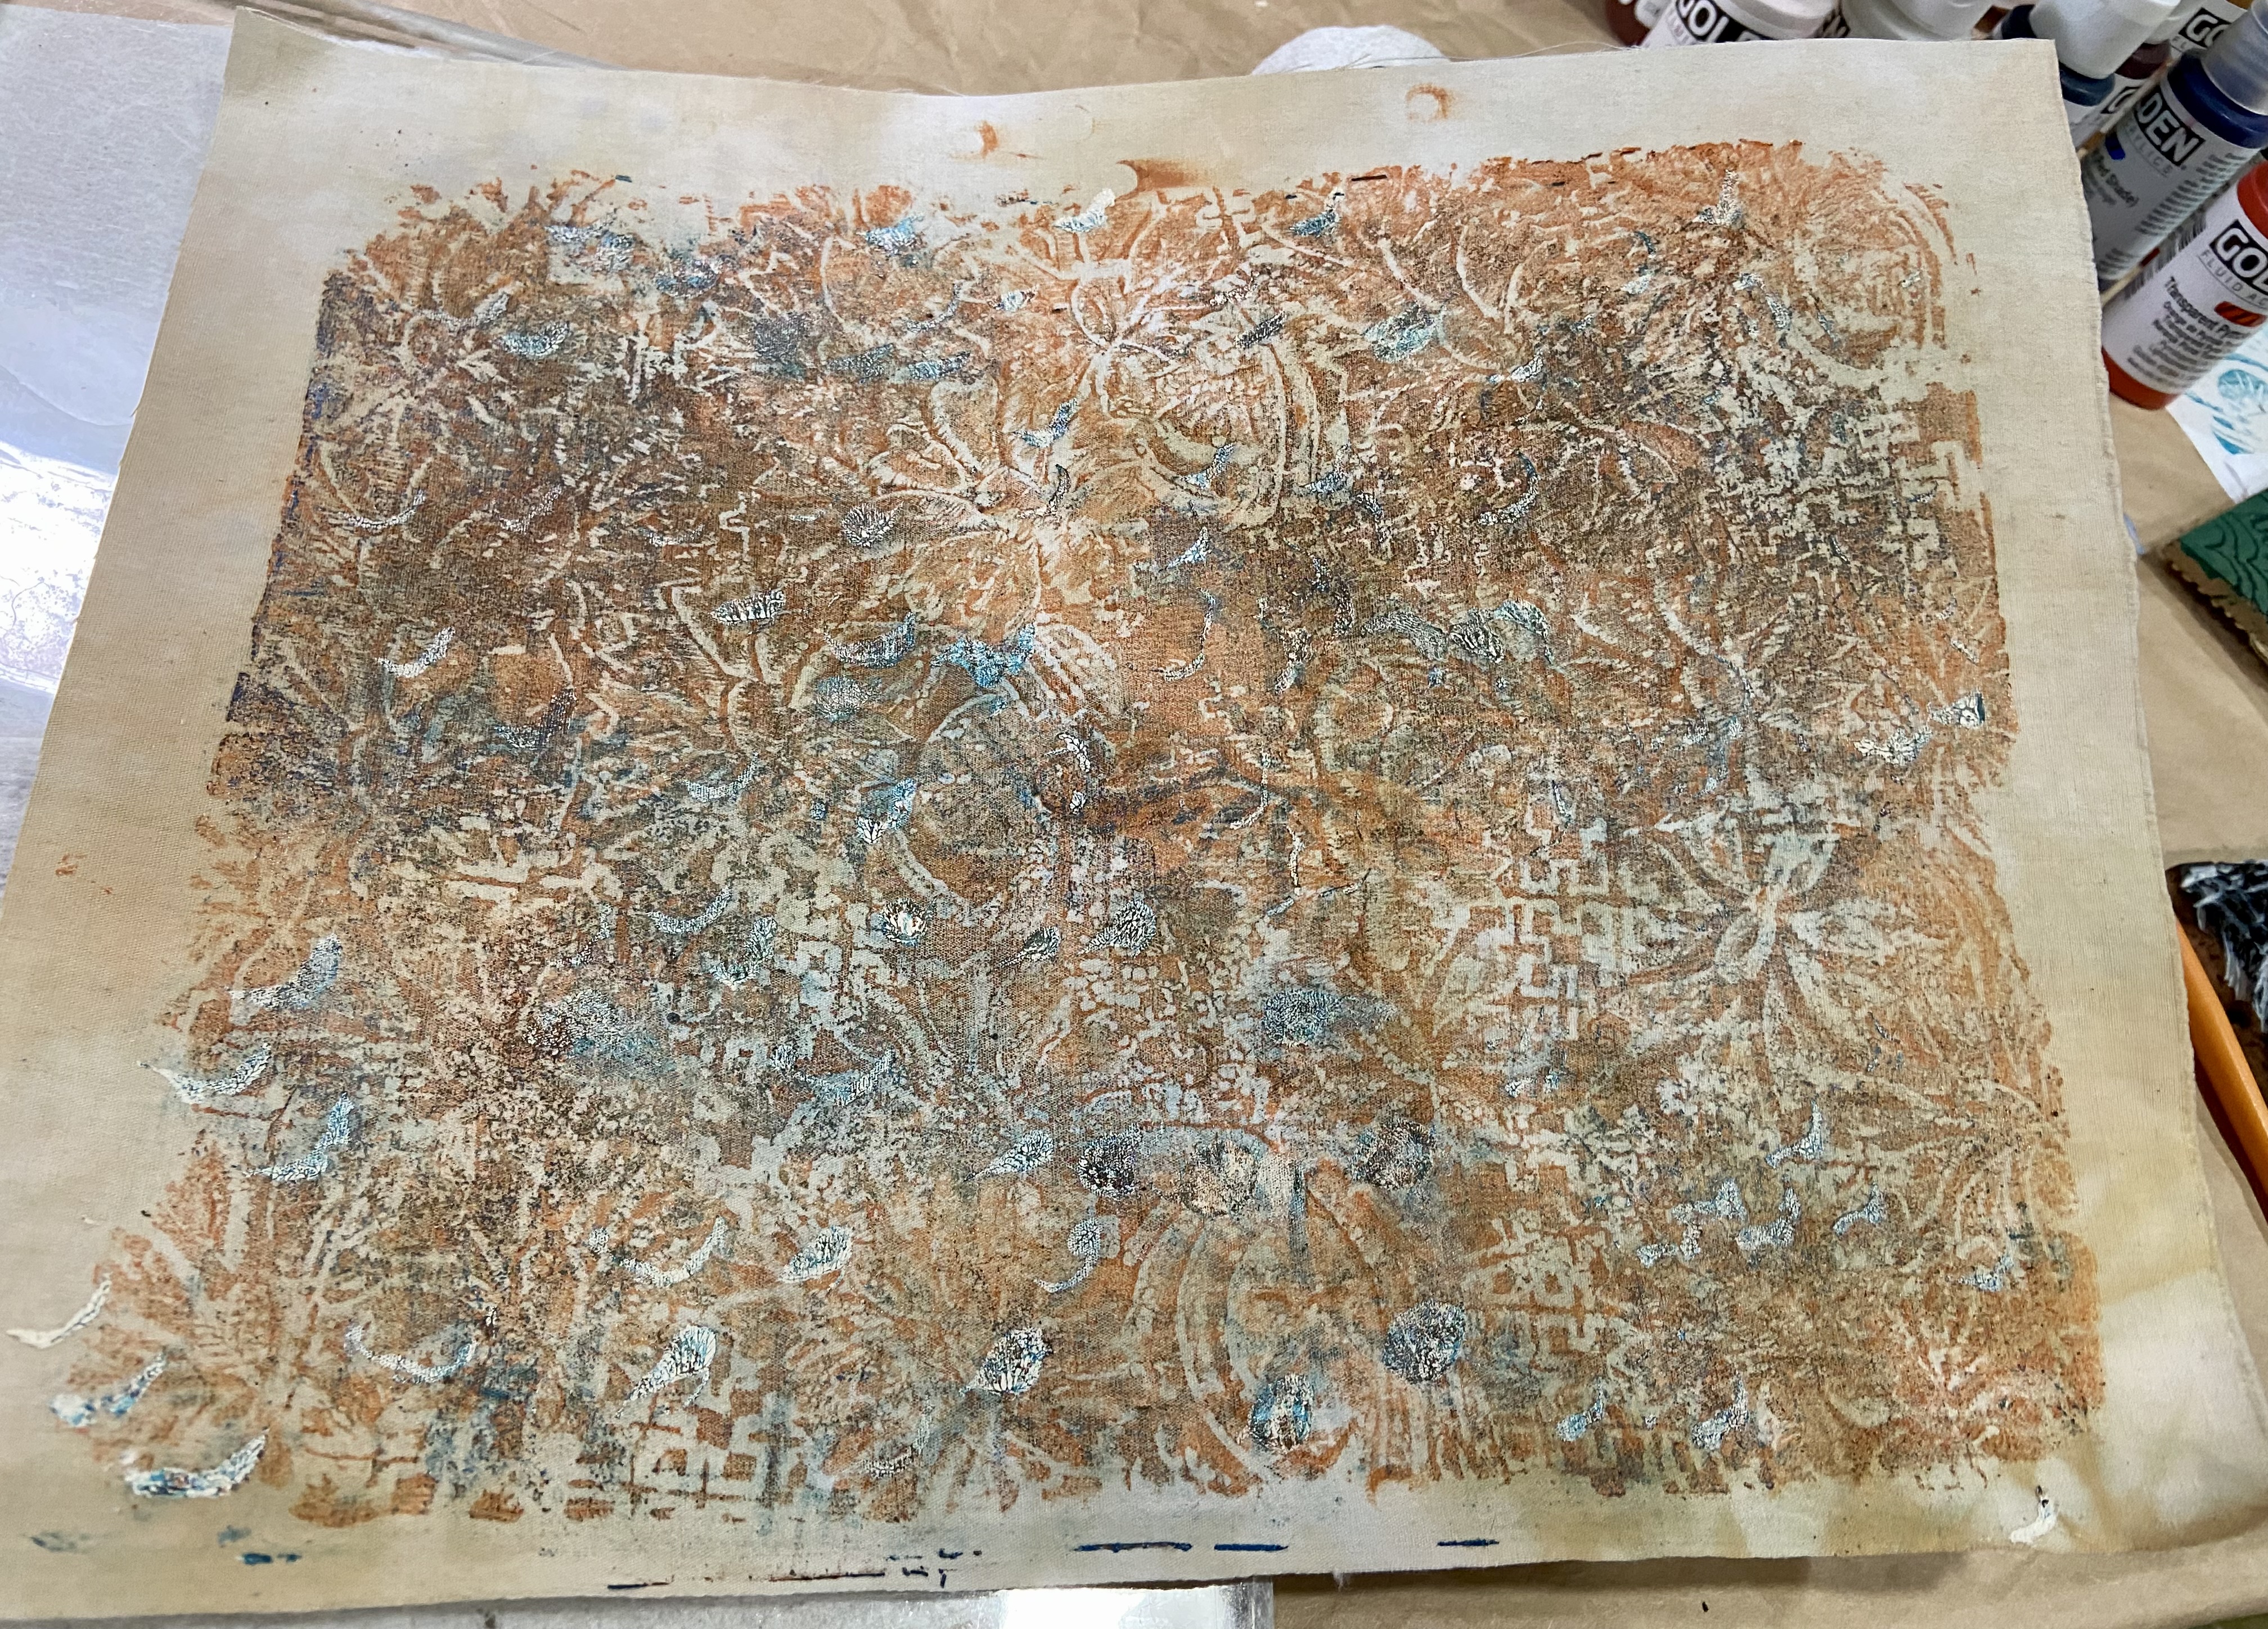
Juicy! Maybe a little too juicy, as in too much paint as you'll see in the next picture, but then I'm very out of practice.

Here's how it looks, very layered and intense, but not enough background fabric showing through. The batik stamp images are very crisp, which is harder to do printing directly onto fabric without a padded surface below. The Gelli Plate has a nice give which helps do the same thing.
The stamps used to mark an image into the paint on the Gelli Plate. There's one of my own hand-carved stamps which is the eye, and then two wooden batik stamps. The stamps are on top of the scrap paper that I stamped and brayered the excess paint onto.
I only got the one piece of fabric done and then there was a scheduling change in my day, my DH was surprisingly able to take off and go to Costco in the middle of the day. In December, you don't ever want to go on the weekend. After some scrubbing up, my tools we were off.

Tuesday, June 14, 2022

Gelli Experiments


There was a discussion at the latest CQFA meeting about a Youtuber artist, YeatsMakes. I decided to check one of his videos out and tried one of the techniques he describes. This one is about making a print using a drawing done with a Chinagraph or grease pencil. I made a quick sketch of my hourglass and gave it some texture with one of the random FabMo thingies I keep around for that purpose.

My first mistake, happened in the second step, I placed the drawing on the Gelli Plate and rubbed the back of the paper to transfer the markings. Well it transferred, rather permanently (but more on that later) even without the paint I should have brayered over the Gelli Plate surface first. Guess I should have taken notes on the steps in the video, whoops!

This was the print that I pulled. I kind of like the ghostly image of the hourglass drawing. But otherwise pretty much a bust since I didn't do things in the right order.

I hadn't worked with a brayer in a while, so I was having fun rolling off the excess in my sketchbook. These will make good backgrounds for something else.

I made a whole new drawing and tried again. The black paper on the right is that drawing covered in the black paint, with the drawing transferred to the Gelli plate on the left.

Here's how it looked on the surface of the Gelli Plate before I let the paint dry. The last step is to brayer white over the whole thing, let it dry with weight on it, and then pull your print. 
Well, it worked a little bit better, but not great. More attempts at this are required. It was fun playing around with all my printing stuff, I haven't done that in years. I haven't used the Gelli Plate too much, and I'm really impressed with how it performed. 

Thursday, June 06, 2013

The End of Anise

For the second design exercise, our small group decided to again go with something out of   Design by Nature: Using Universal Forms and Principles in Design (Voices That Matter) .  This one was about finding patterns in nature.  First we were to choose a natural object and draw it everyday in our sketchbook.   I choose the end of a bunch of anise.  When I chopped it off, I was struck by all the patterns and interesting shapes and structures.
Since it would be changing soon (decomposing!) I took a lot of pictures of it.
And I even scanned it.  My son saw me doing it and just kind of shook his head and asked no questions.  At this point, he knows better, otherwise it's an art lecture from mom.
Then of course I had to fool around with the scan in Photoshop. I really loved how this filtered treatment brought out all the structures and patterns so clearly. 


Next we were supposed to start detailing the patterns from the object, exploring the details of it and expanding upon them in our sketchbook.
I also decided to carve a stamp based on one of the line drawings I did which emphasized the shapes and patterns I found most interesting.

 
My ink is getting a little old and gloopy and I need a padded stamping surface, so some of the stamped versions are too splotchy.


But I got at least one that I was able to use to make the small quilt (8.5 x 11") our group had decided to do as "homework".
It was supposed to be 3-D in some way, so I stuffed the stamped image of the anise.  But I wasn't happy with it, it was too literal, and "the usual" for me, and definitely cheating a bit on the 3-d aspect. I wanted something else, so I made a second one.

This is much more 3-D and much less literal.  I used lutradur and steam-a-seam to stiffen the folded fabric and then ironed the folds in.  


A closer view of the folding.
All in all, it was a really useful exercise, and is one I think I could repeat it many times.


Tuesday, May 28, 2013

Gelli Plate Printing

I just got one of these Gelli printing plates recently and have had a lot of fun so far playing with it.  I never did get around to trying the whole gelatin plate thing where you mix up a batch of thick gelatin and then it kind of breaks down as you make prints.
Everything I learned about the technique but never actually tried is in this great book by Rayna Gillman  I just used all the techniques in the gelatin monoprinting chapter with a Gelli plate instead.  This thing is pretty substantial and durable and seems to be intended for many reuses, although likely not a forever kind of print plate such as a piece of glass.


It's all about layers, this video shows how to do it really clearly.
I'll take pictures of my papers and fabrics and post them soon. But go get yourself one of these things, I bought mine at  Blick Art Materials.

Tuesday, September 04, 2007

Fabric Swap Goodies

These are the hand-printed fabrics I received in the swap that I recently participated in, fun, aren't they?!
Screen-printed succulents by Bitter Betty, the wonderful organizer of this swap!
Potato masher printing! Who knew there were so many shapes of potato mashers?! Made by Lee at Dancing Crow Designs.
We call this one "Vlad", expecially since the woodblock print is on the blood-red fabric made by Lindy.
Batiked lions with natural dyes by Margaret Wilson.
I know I should have ironed these, but it was 83F in my room, at 7pm, and I just wasn't up to turning on the steam iron! So, please just imagine them perfectly flat with no creases whatsoever. Thanks.

Thursday, August 16, 2007

Hand-Printed by Moi

I just finished up participating in a hand-printed fabric swap, hostessed with grand aplomb and dexterity by Bitter Betty. Luckily for me, she was waiting on some other folks besides my late-ass self, and she also lives nearby! Thanks BB!

So I was able to sneak in under the finish line with these woodblock prints on some of my recently finished hand-dyed cotton:


Woodblock printing is harder than rubber stamping on fabric! I obviously need to practice, or change my technique because it was mucho harder than I thought it would be to get a consistent printed image.

I used a fabric printing ink that I bought from Dharma Trading, purple and green were the two colors. It isn't really labeled, but I think it is made by Ranger.

The woodblocks are from two sources, a store called Treasure (who are usually there vending at PIQF) and of all places: Lillian Vernon! The teeny Ganesha, Sacred Feet with Eyes (it must be called something specific) are from Treasure. The floral-ish ones from L.V. I need to figure out how to do this, because it was really fun, I mostly liked how my fabrics turned out, and I have some other woodblocks/batik stamps that are larger that I want to use!

Now to go peek in my package at the goodies I received!