Showing posts with label Gelli Plate. Show all posts

Saturday, September 06, 2025

Poetic Supplies

I'm taking a class, called Poetic Cloth from Jane Dunnewold which is really fun so far, but it required me to source some new fabric from a new supplier that she suggested. Online Fabric Store (yes, that's actually the name of it). For the class I bought two fabrics to try printing with, two yards of 60" white cotton broadcloth, and 2 yards of 45" bleached cotton muslin. What an interesting picture this is for white on white, right? I tried my best and held the two fabrics up to the window. I need to wash and dry them before I actually get started on pulling prints.

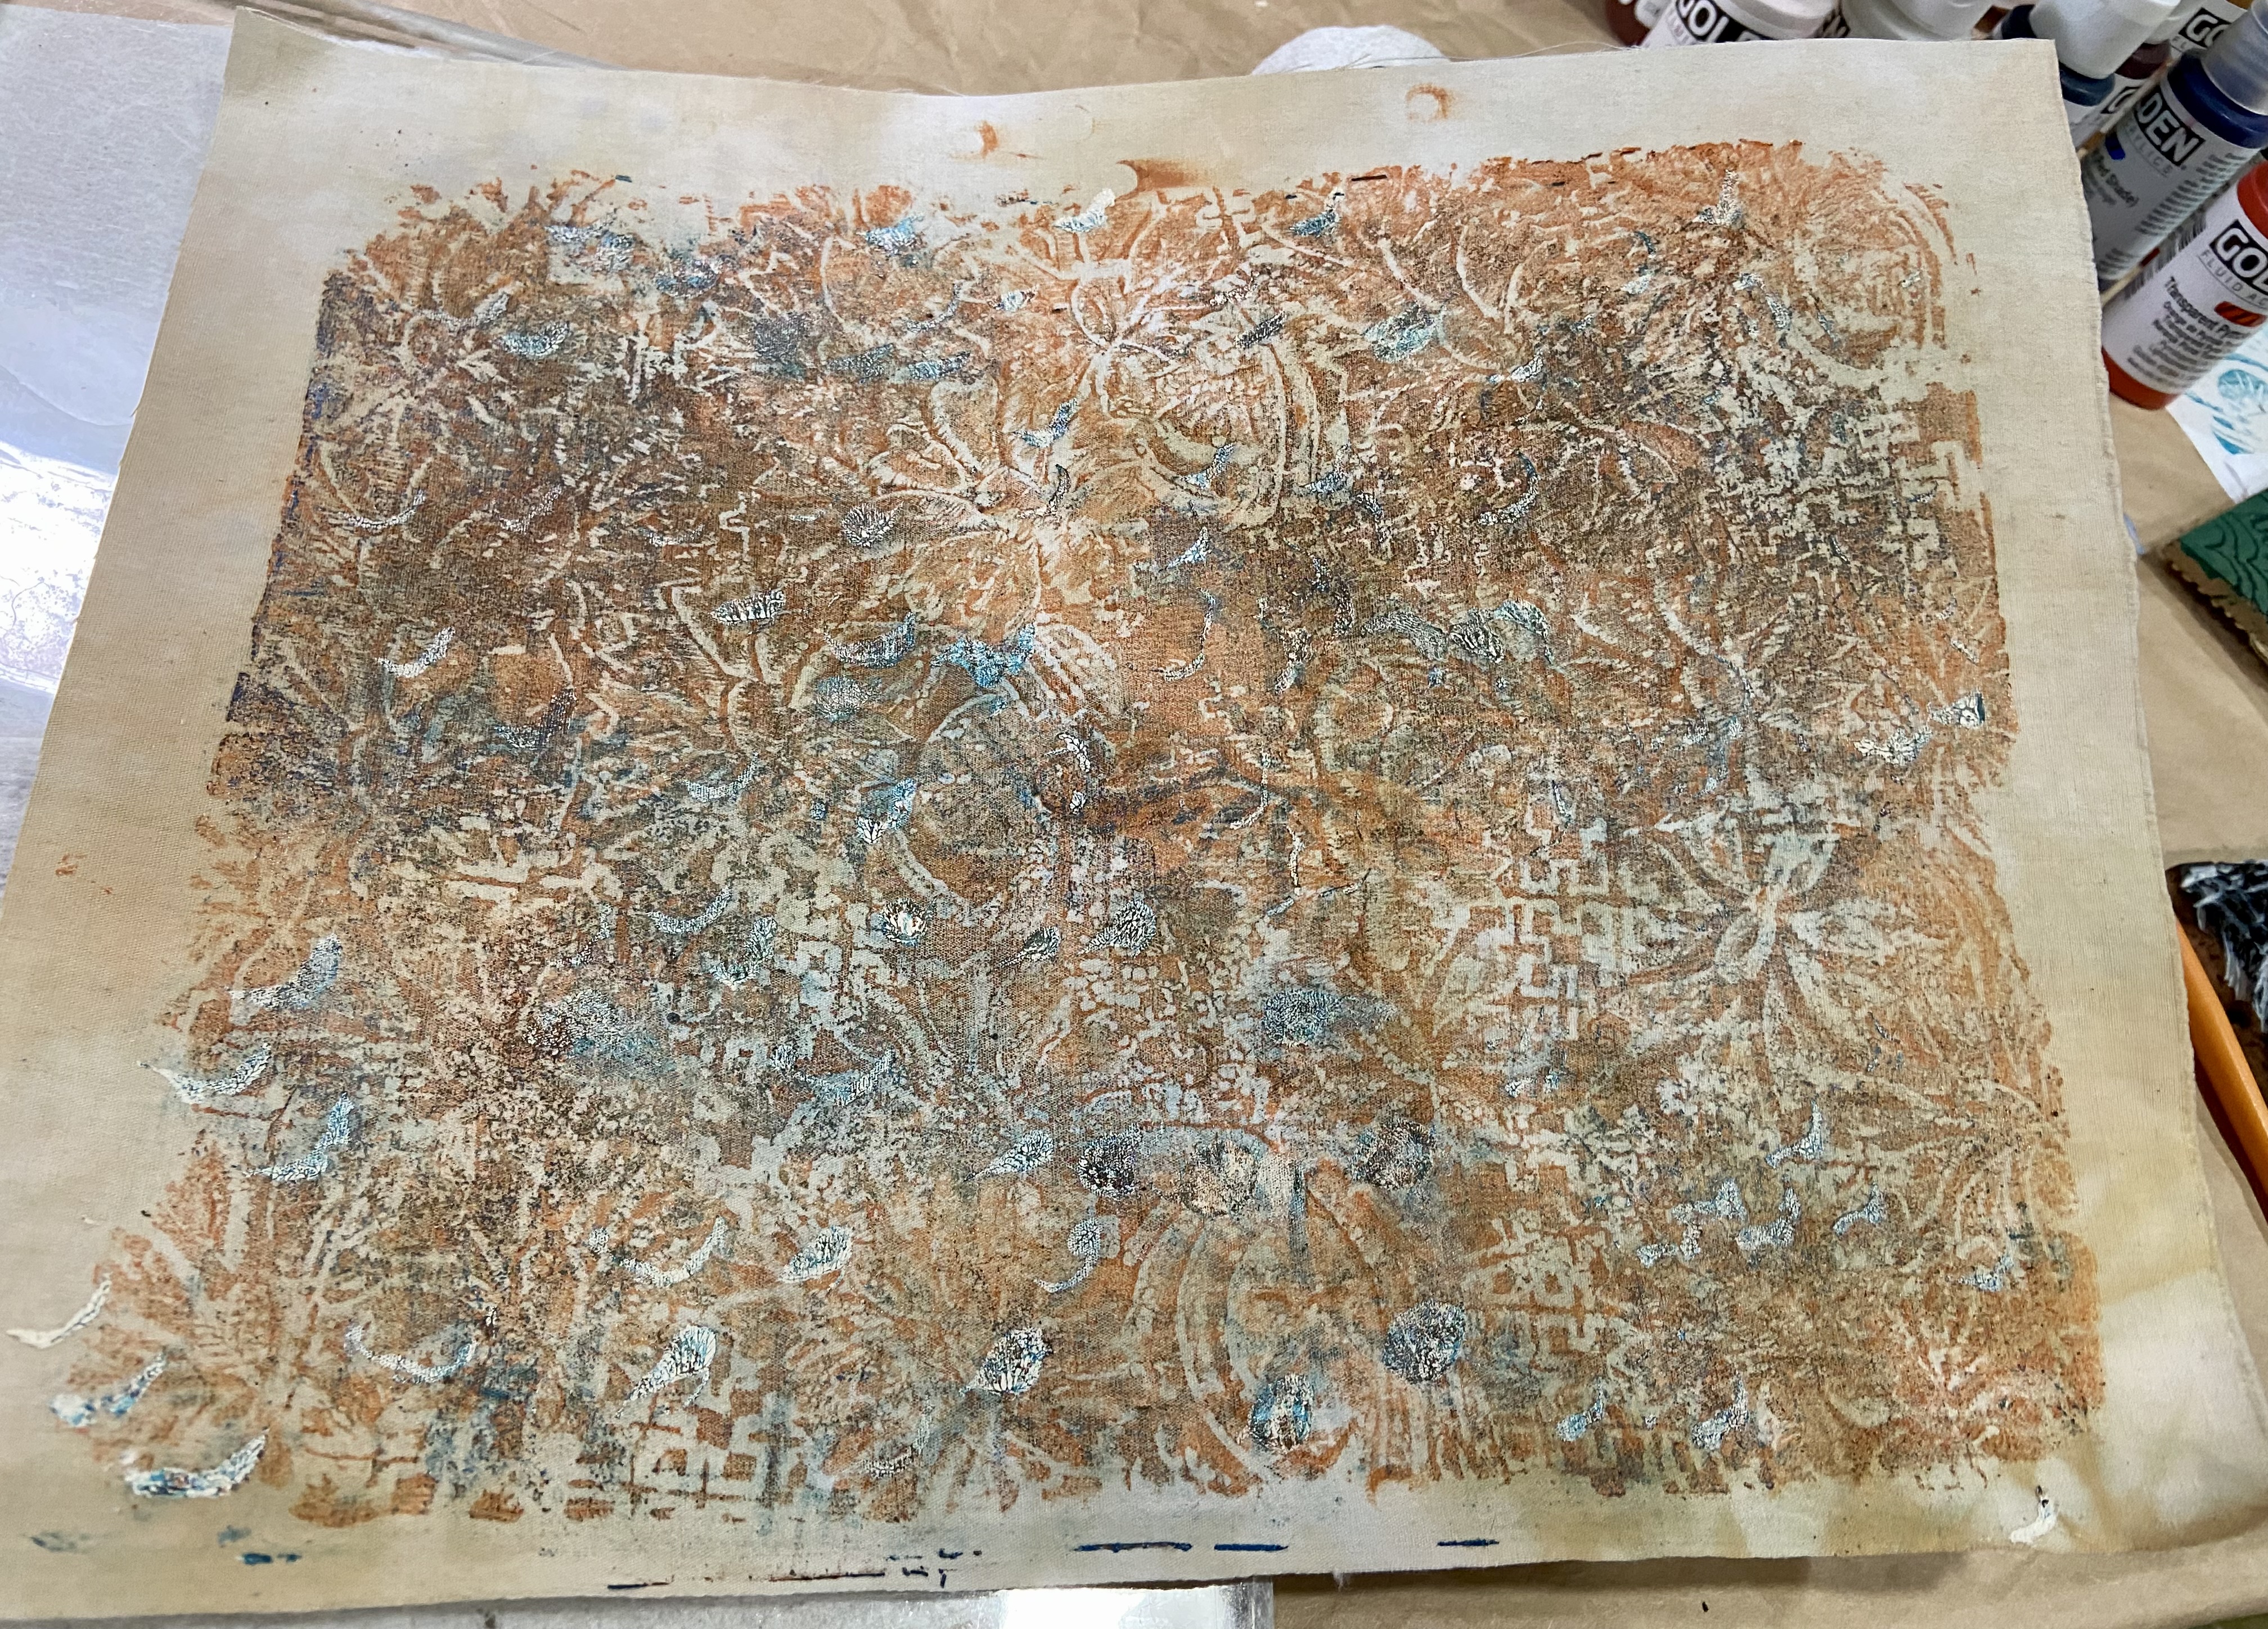
These fabrics will be used along with the new and much bigger Gelli Plate that was suggested that I just invested in. The one I had was only 8x10", so buying this much larger one will make it easier to print something as big as FQ which will be more usable in quilt making. Think of this as the before picture, taken while it's pristine and untouched.
I had most of the paints, and inks on the supply list already, but I didn't have these four. I've never used a paint retarder before so I'm interested in learning how that works.


Also at The Online Fabric Store, I found two kinds of felt. In the class notes, it was suggested to try out the display of smaller works we'll be making on this sort of sturdy dark grey felt, it seemed like it would be a good thing to learn. 

And after looking all over to source it locally, I finally found a grey wool felt that I can use in the Circle Sampler. Wool is really hard to find, especially in the size that I needed. I should have just bought it fro Sue Spargo back when I bought the pattern. I had even tried buying a wool coat at GoodWill and deconstructing it, but the largest rectangle wasn't even close to big enough. Now that I have the background, I can actually start this project.

So, after adding in those 7 yards, it brings my fabric tracker up to a net inflow of 11.8 yards.

Friday, February 23, 2024

Hourglass Begun


The new prompt for Project Quilting is Hourglass. That made me think of how a couple years ago I was trying out some Gelli Plate experiments and was quite pleased with this image of my desk hourglass that I drew and painted on the plate.
I printed that picture out on printer fabric and decided it needed some sort of frame. That meant it was time to make some hourglass blocks for the corners. I used this great pattern/tutorial to make them pretty easily out of my hand-dyes.
I used the technique of drawing two lines diagonally on a square using the Seams Easy tool and a Sewline marker.
Cut the square apart on the diagonal between the two stitched lines.
And then before moving the two pieces, cross cut again.
Ready to sew the pieces of the hourglasses together.

Trimming the blocks down to size, I happily re-discovered the criss-crossing 45° dotted lines on the end of a Quilter's Select ruler. Very handy.
The border needed something a bit muddier to tone down the brightness of the hourglasses vs. the printed out image. This is one of my all-time favorite ever dyed pieces, it's a linen/hemp woven checked fabric that was dyed and over-dyed again. Using this fabric is going to count towards an entry in the President's Challenge for BAM this year. Using the precious, I'm doing it. That's for tomorrow.


Thursday, December 15, 2022

Sightlines Triad


After getting the printing done that I wanted to accomplish I chose my three favorites to put into a quilt to enter into the Print/Quilt exhibit. It was going to have to be on the small side to get done in time, but I really didn't want to cut up the prints. The initial idea was to call this quilt Sightlines and have quilting lines going between all the eyes.

Based on a sketch that took a triad view from my color wheel, I came up with these combination of hand-dyes to sort of frame each one. The cerulean blue print would be framed with chartreuse and blue-red. The Blue Green print would be framed with red-violet and yellow-orange. The orange-yellow print would be framed by aqua green and violet.

I decided that I needed something in-between the print and the much more intense hand-dyes, so I chose a lighter hand-dyed and manipulated one that would tie all three together and had the additional dye printing work of dots which echo the backgrounds of the prints. I thought that looked a lot better, but I still didn't like them all in one piece. Too crowded, too formal, not enough space to have a dynamic design.
So I decided to make three separate but much smaller (but not too small). Much better. 
What's this? Another triptych?
This works much better for me. It's really fun working with my hand-dyed and surface designed fabrics, it's been a while. If I can figure it out, I'm going to quilt them keeping the Sightlines idea in mind to have the quilting lines connect between the three quilts and the eyes.


Friday, December 09, 2022

Juicy Practice


Juicy! Maybe a little too juicy, as in too much paint as you'll see in the next picture, but then I'm very out of practice.

Here's how it looks, very layered and intense, but not enough background fabric showing through. The batik stamp images are very crisp, which is harder to do printing directly onto fabric without a padded surface below. The Gelli Plate has a nice give which helps do the same thing.
The stamps used to mark an image into the paint on the Gelli Plate. There's one of my own hand-carved stamps which is the eye, and then two wooden batik stamps. The stamps are on top of the scrap paper that I stamped and brayered the excess paint onto.
I only got the one piece of fabric done and then there was a scheduling change in my day, my DH was surprisingly able to take off and go to Costco in the middle of the day. In December, you don't ever want to go on the weekend. After some scrubbing up, my tools we were off.

Tuesday, June 14, 2022

Gelli Experiments


There was a discussion at the latest CQFA meeting about a Youtuber artist, YeatsMakes. I decided to check one of his videos out and tried one of the techniques he describes. This one is about making a print using a drawing done with a Chinagraph or grease pencil. I made a quick sketch of my hourglass and gave it some texture with one of the random FabMo thingies I keep around for that purpose.

My first mistake, happened in the second step, I placed the drawing on the Gelli Plate and rubbed the back of the paper to transfer the markings. Well it transferred, rather permanently (but more on that later) even without the paint I should have brayered over the Gelli Plate surface first. Guess I should have taken notes on the steps in the video, whoops!

This was the print that I pulled. I kind of like the ghostly image of the hourglass drawing. But otherwise pretty much a bust since I didn't do things in the right order.

I hadn't worked with a brayer in a while, so I was having fun rolling off the excess in my sketchbook. These will make good backgrounds for something else.

I made a whole new drawing and tried again. The black paper on the right is that drawing covered in the black paint, with the drawing transferred to the Gelli plate on the left.

Here's how it looked on the surface of the Gelli Plate before I let the paint dry. The last step is to brayer white over the whole thing, let it dry with weight on it, and then pull your print. 
Well, it worked a little bit better, but not great. More attempts at this are required. It was fun playing around with all my printing stuff, I haven't done that in years. I haven't used the Gelli Plate too much, and I'm really impressed with how it performed.