Showing posts with label monoprinting. Show all posts

Friday, December 16, 2022

Triad Appears


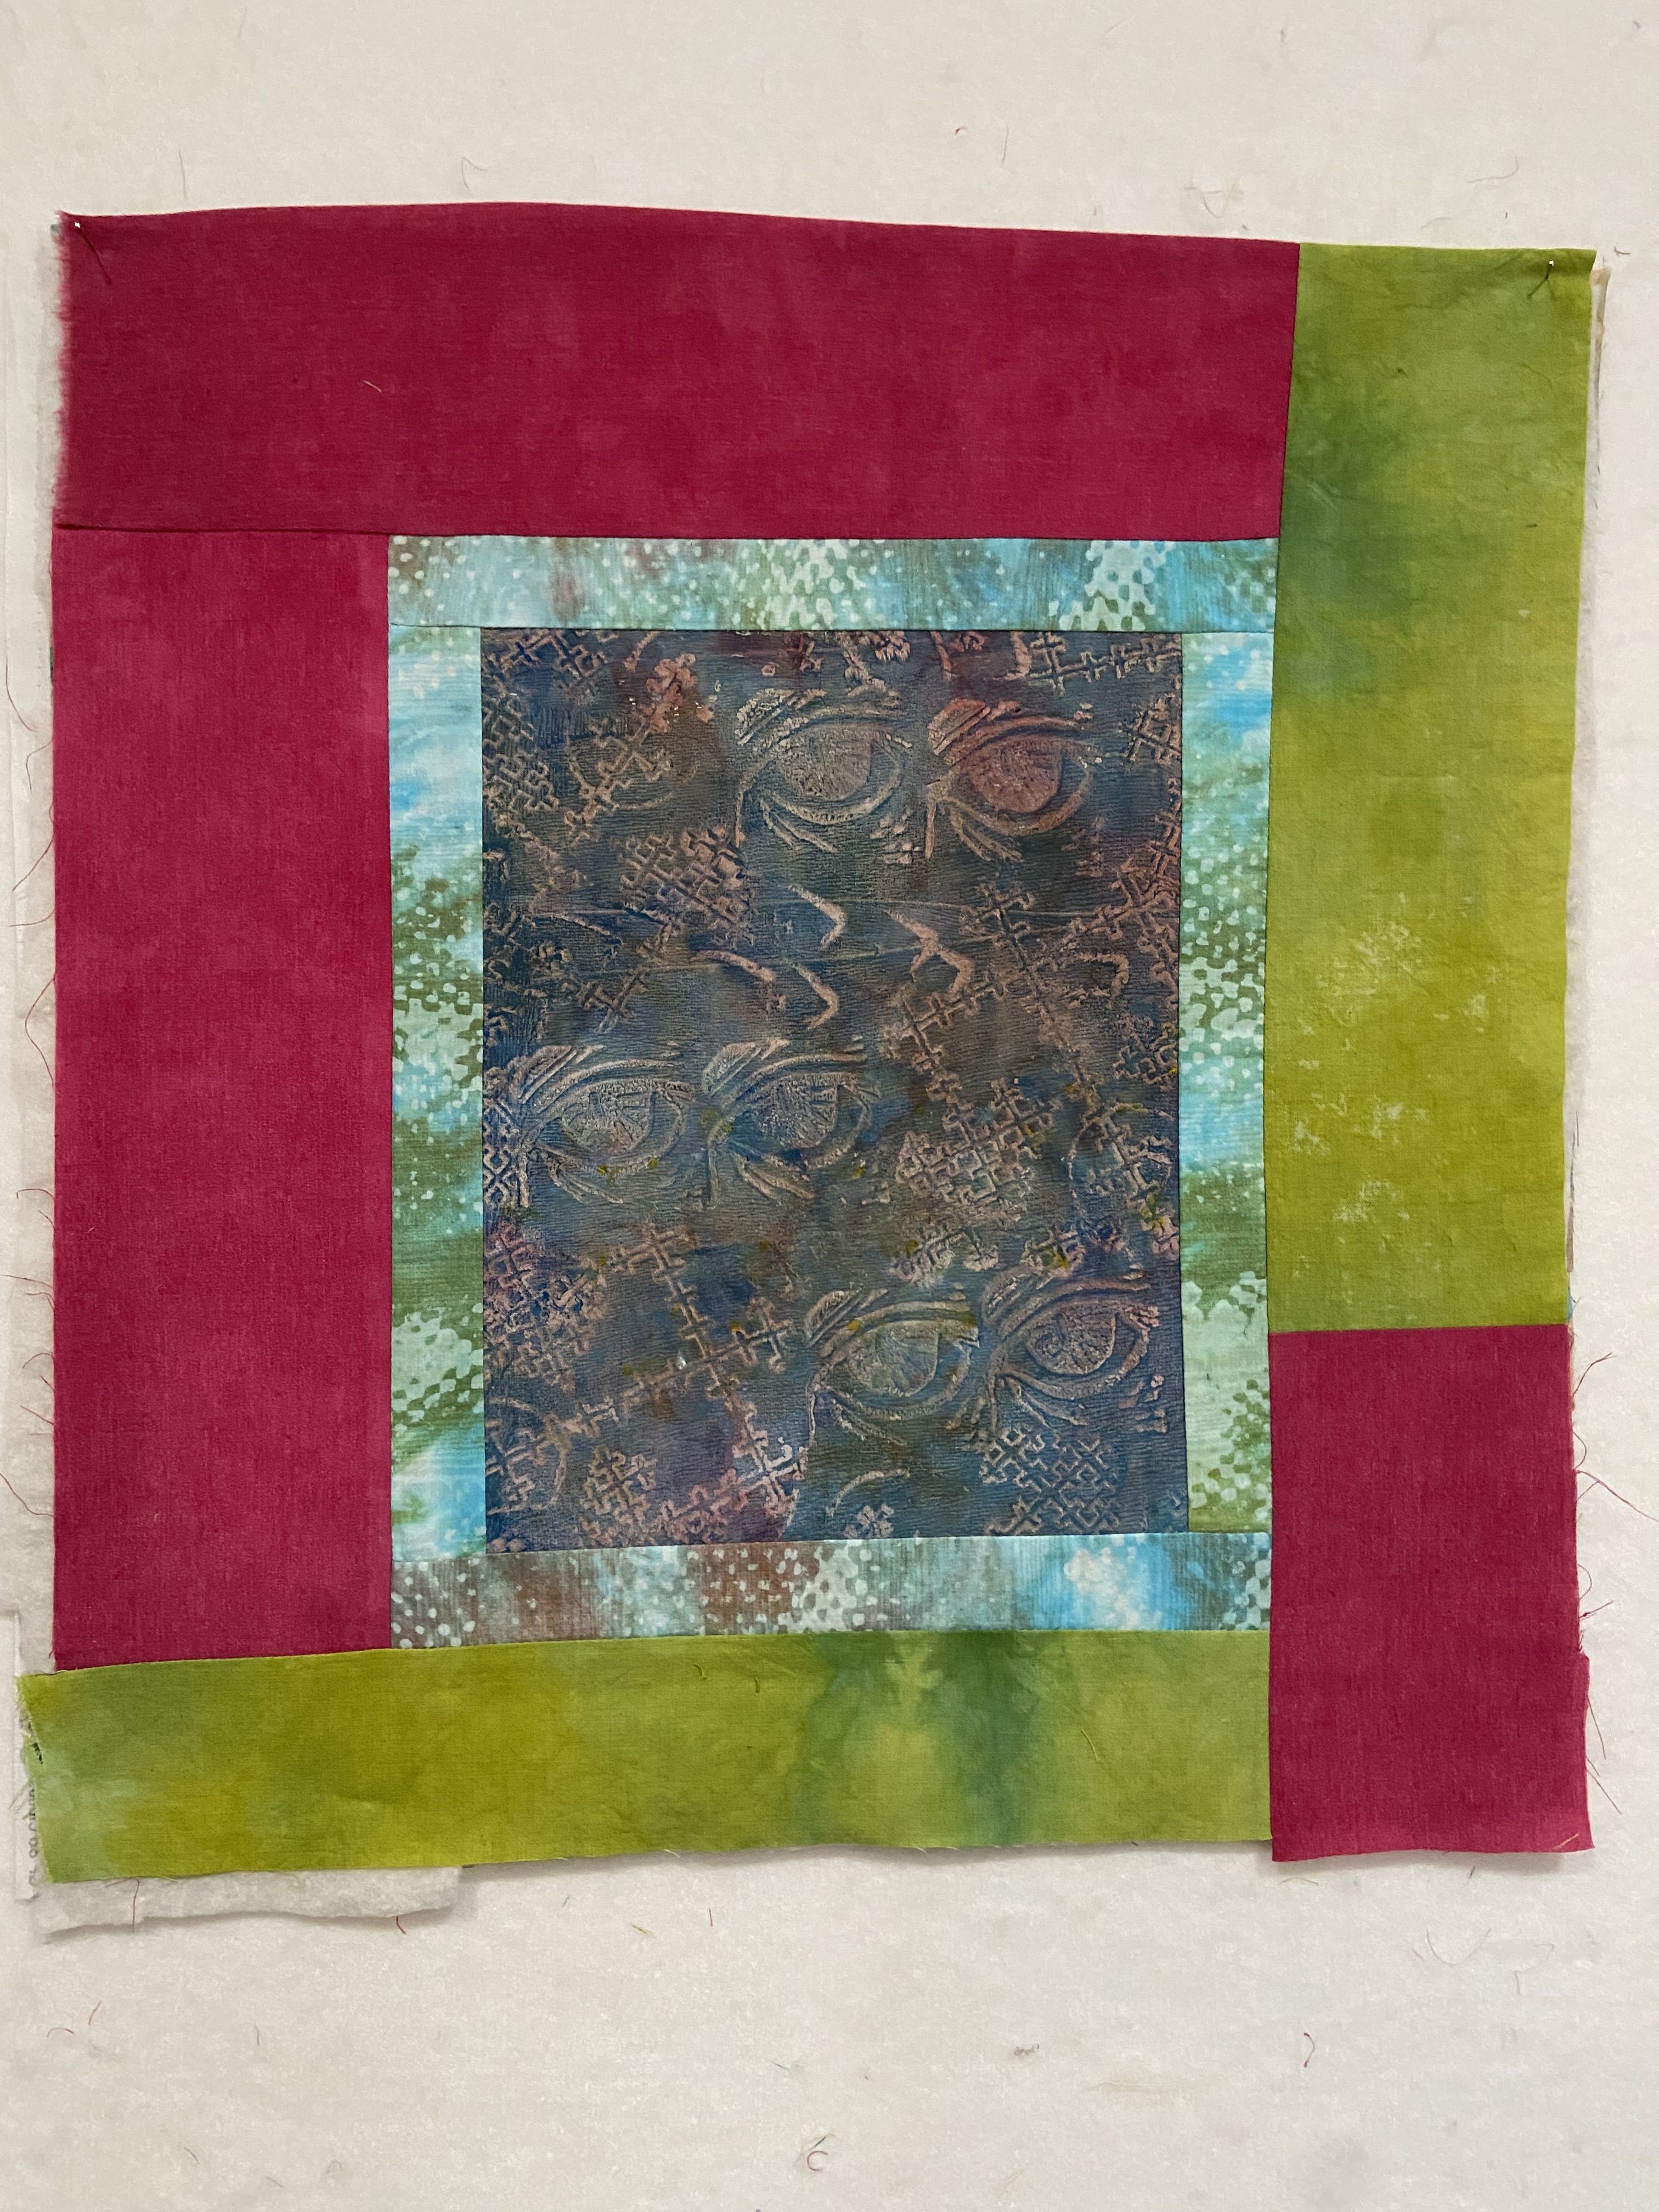
Et voilĂ ! A triptych appears.
I'm looking forward to quilting these now, a much more manageable size. I used fusible batting which always speeds things up for me. I even remembered to cover the print with something just in case some of the paint wasn't fixed. There were a few little tacky bits, so I'm glad I saved my iron the trouble.
I might use a thread color that matches the central print through the whole thing in lines...Sightlines.
In triad color theory that should work. I'll try it and see.

Thursday, December 15, 2022

Sightlines Triad


After getting the printing done that I wanted to accomplish I chose my three favorites to put into a quilt to enter into the Print/Quilt exhibit. It was going to have to be on the small side to get done in time, but I really didn't want to cut up the prints. The initial idea was to call this quilt Sightlines and have quilting lines going between all the eyes.

Based on a sketch that took a triad view from my color wheel, I came up with these combination of hand-dyes to sort of frame each one. The cerulean blue print would be framed with chartreuse and blue-red. The Blue Green print would be framed with red-violet and yellow-orange. The orange-yellow print would be framed by aqua green and violet.

I decided that I needed something in-between the print and the much more intense hand-dyes, so I chose a lighter hand-dyed and manipulated one that would tie all three together and had the additional dye printing work of dots which echo the backgrounds of the prints. I thought that looked a lot better, but I still didn't like them all in one piece. Too crowded, too formal, not enough space to have a dynamic design.
So I decided to make three separate but much smaller (but not too small). Much better. 
What's this? Another triptych?
This works much better for me. It's really fun working with my hand-dyed and surface designed fabrics, it's been a while. If I can figure it out, I'm going to quilt them keeping the Sightlines idea in mind to have the quilting lines connect between the three quilts and the eyes.


Saturday, December 10, 2022

Even More Printing


In a big push yesterday, I think I've finished off the printing I'm going to be doing for now. It's a lot of set-up and then clean-up of course, but it sort of takes over and then I can't sew or do anything else.
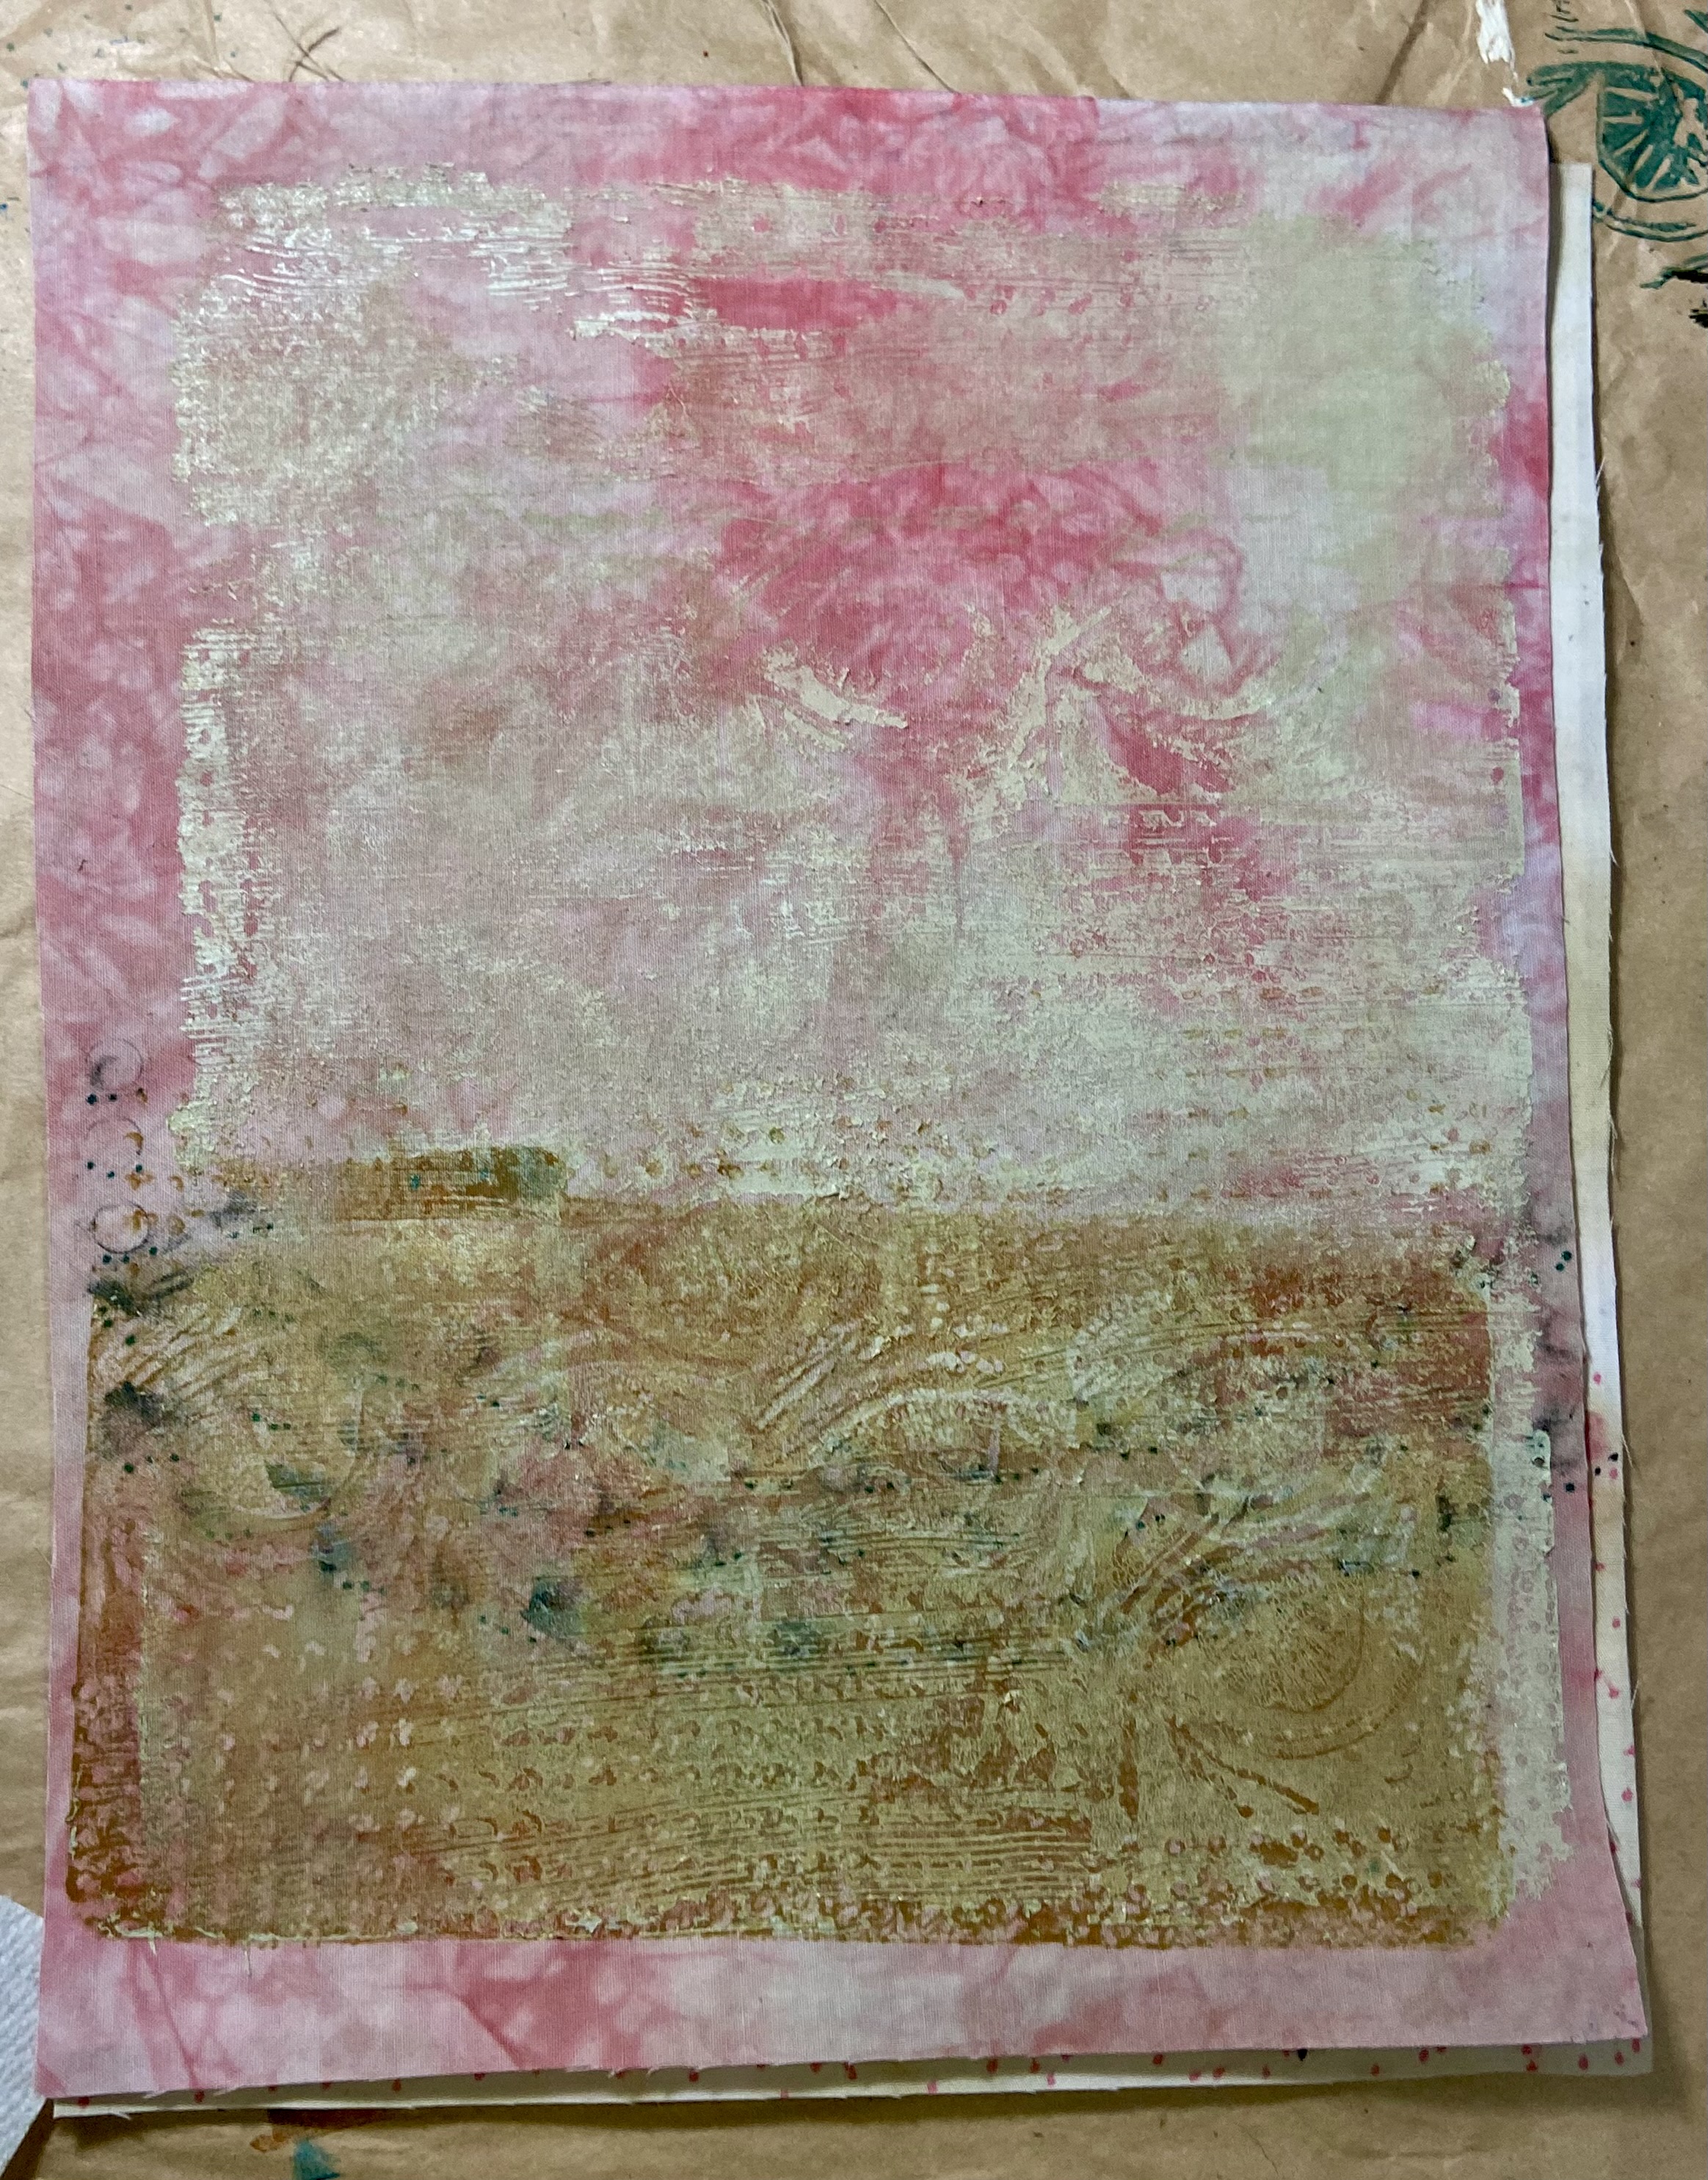
But wow, did I ever have fun as you can see. Combining colors and using the same set of stamps the whole way through.
This one might be my favorite.
Some of my fabric paint is on its way out, not as juicy as it should be, and the heater came on which is directly overhead of my worktable, so this plate got really dried out before I could even pull the print. I think this one would have been my fave if it had worked.
As you can see it did not. I added some over the bottom and I do like the look of that.
Wait, this one is probably my favorite. I guess I don't really have to pick just one.
I quite like the range of colors I ended up with, it's going to be very usable.
The worktable after the tools have been removed to the sink for cleaning. 
The very pleased printer after cleaning up, new glasses and my Mrs. T's apron (and a bad rosacea flareup for my eyes, yikes that's not trendy red eye makeup).

Friday, December 09, 2022

Juicy Practice


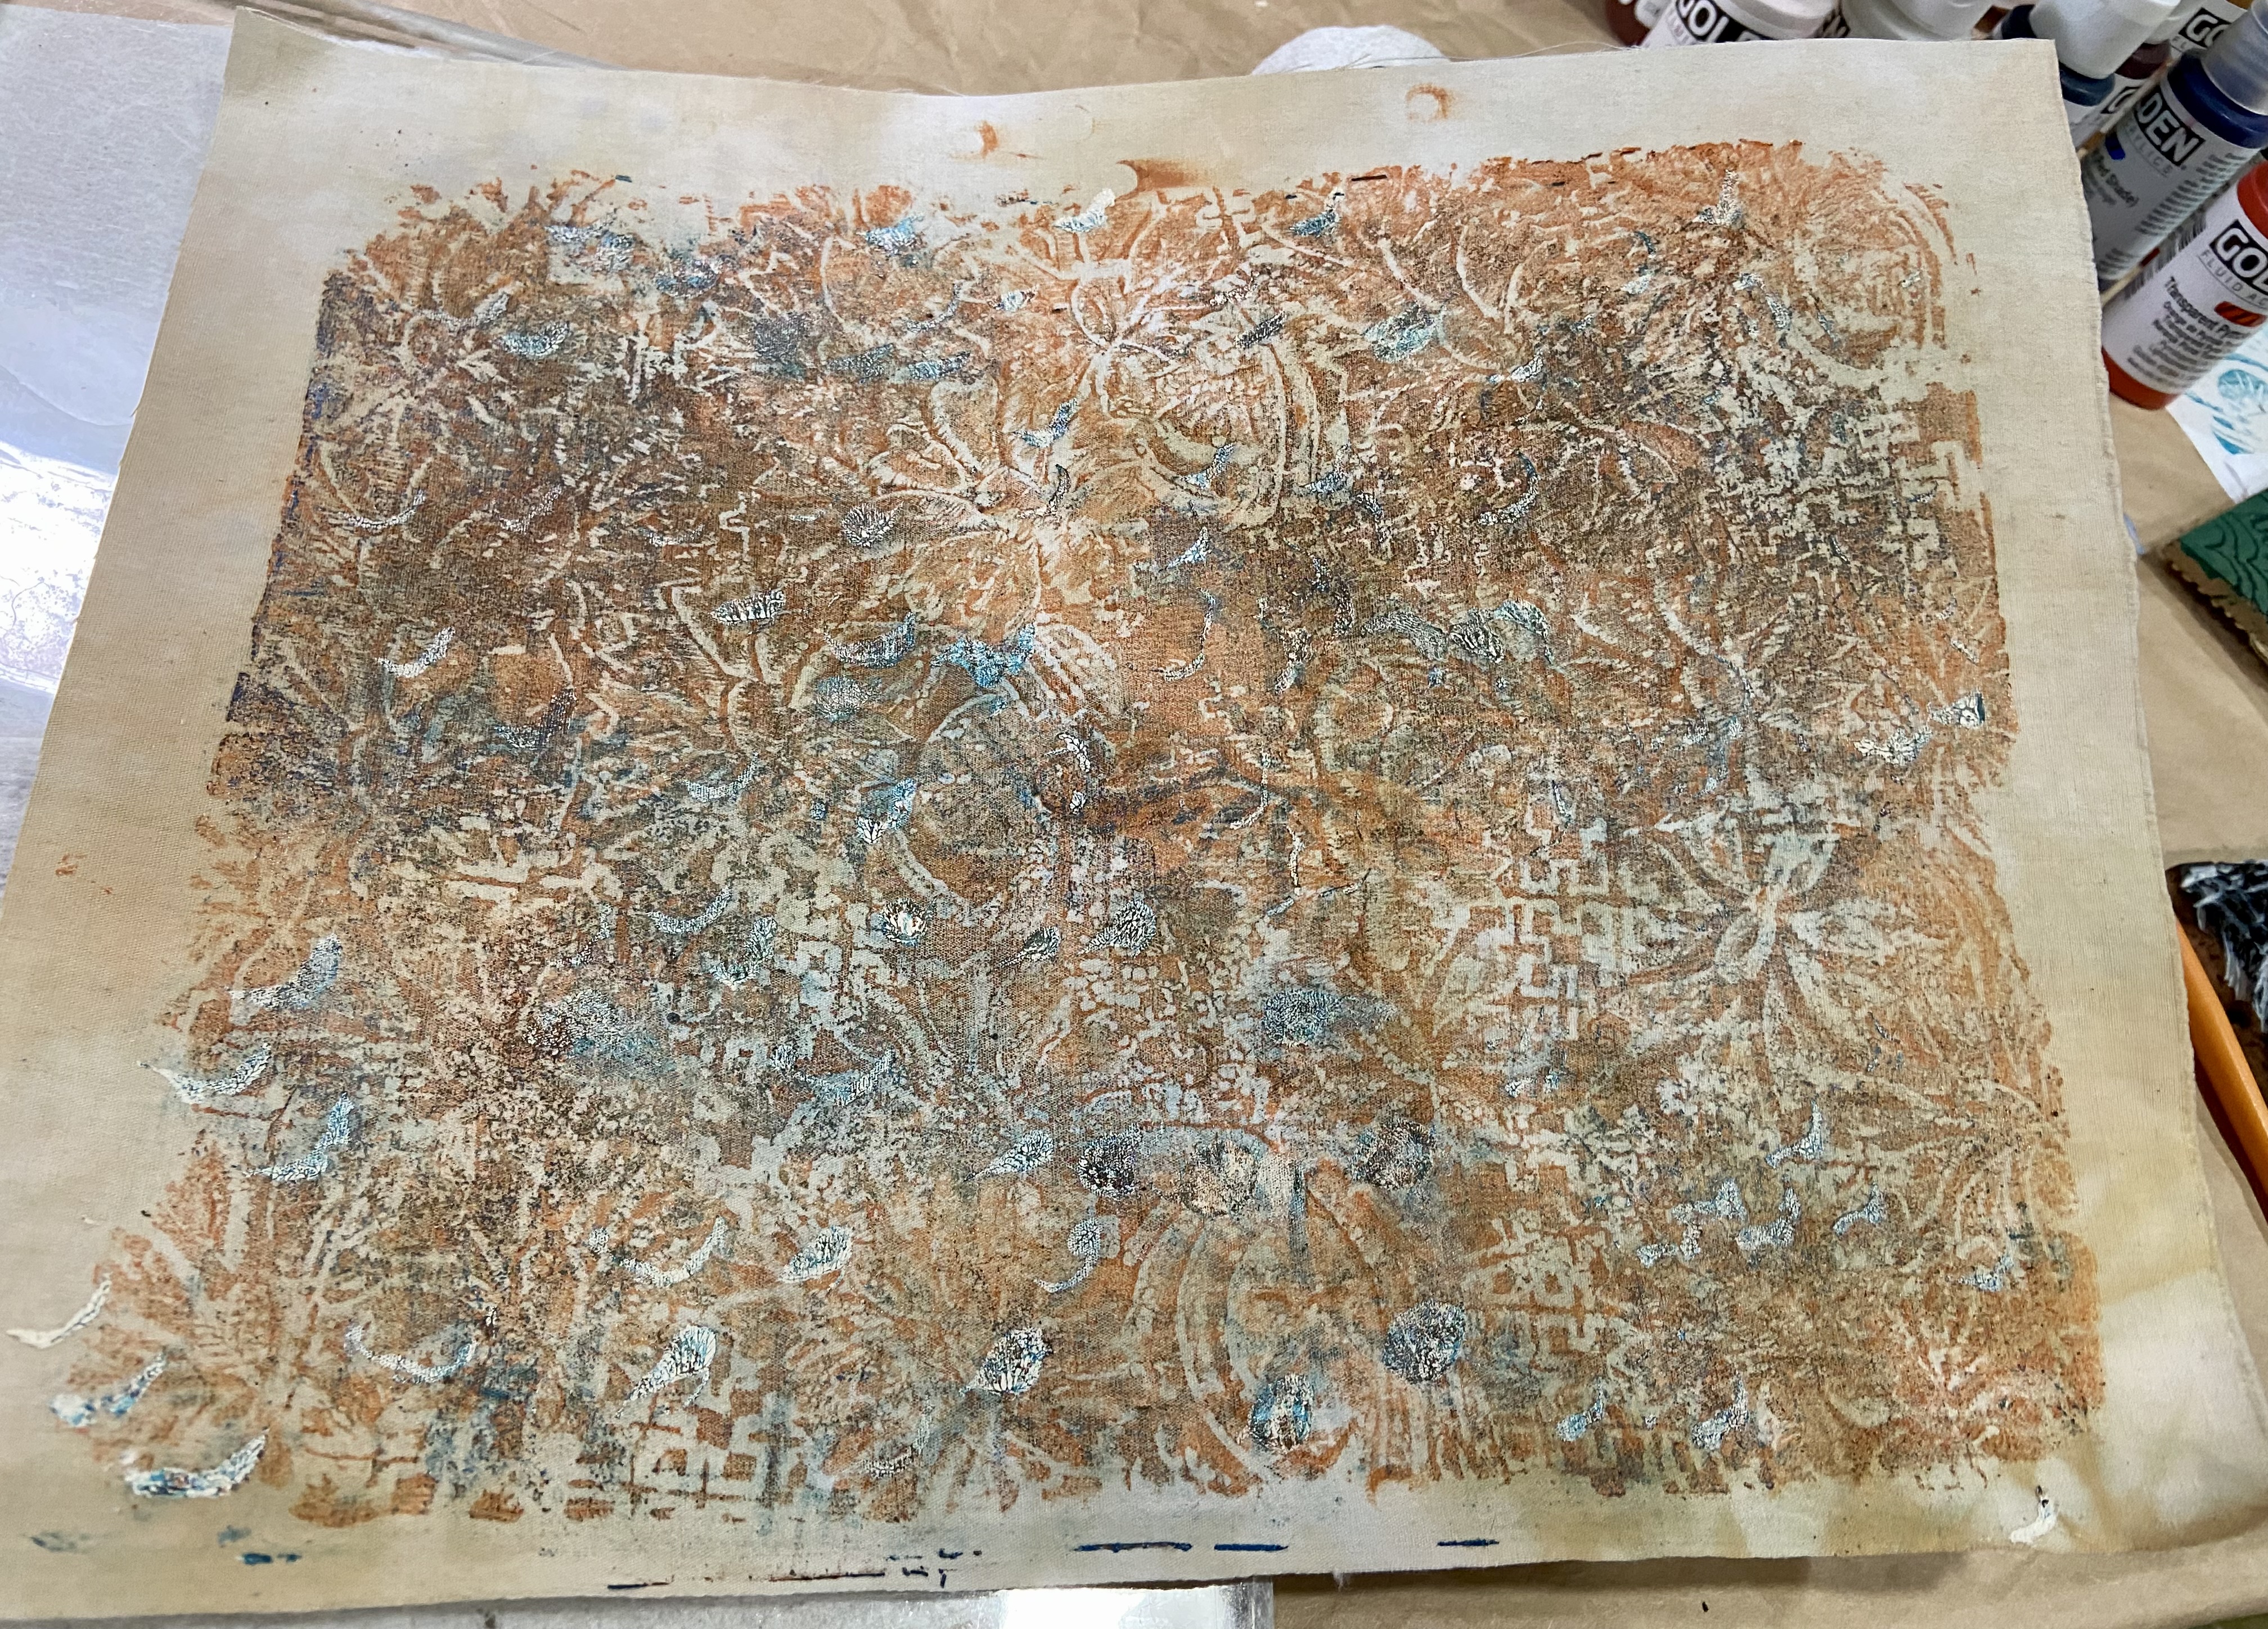
Juicy! Maybe a little too juicy, as in too much paint as you'll see in the next picture, but then I'm very out of practice.

Here's how it looks, very layered and intense, but not enough background fabric showing through. The batik stamp images are very crisp, which is harder to do printing directly onto fabric without a padded surface below. The Gelli Plate has a nice give which helps do the same thing.
The stamps used to mark an image into the paint on the Gelli Plate. There's one of my own hand-carved stamps which is the eye, and then two wooden batik stamps. The stamps are on top of the scrap paper that I stamped and brayered the excess paint onto.
I only got the one piece of fabric done and then there was a scheduling change in my day, my DH was surprisingly able to take off and go to Costco in the middle of the day. In December, you don't ever want to go on the weekend. After some scrubbing up, my tools we were off.

Friday, October 07, 2022

Fusible Shop


More fabric shopping happened, but I had kind of forgotten until the package showed up and surprised me. It had been nearly 3 weeks since I ordered. If you need something very fast, don't order from Missouri Star Quilting. They are not super fast on shipping, but they have a great selection. They did have something I saw in a lecture and wanted to try out. So these super on-sale fabrics landed in my shopping cart, free shipping at a certain $ point really works on me psychologically. 

A Tula Pink, a Kaffe Fasset, and two mum prints that I liked the colors of. Stacking them up together, it looks an intentional fabric pull for a quilt...hmmm. Usually my fabric choices in online shopping are rather random.

I also ordered another type of fusible batting that I've never tried, Quilter's Dream 80/20. And Missouri Star also carries American Made solids which I really like. One is just black, and the other is PFP white, prepared for printing. Since I'm doing this printing/quilting quilt I thought it would be worth a try.

This cute little canister is the reason for the whole order. It's sprinkle-able fusible powder, Free Fuse from Quilters Select. In one of the quickie lectures in the Global Quilt Connection sampler, I was really intrigued by the fabric fusing technique presented by Julia McLeod.

Now that I've been sewing more with solids I've encountered an annoying issue. Solids don't have the usual ID on the selvedge that prints have, so it's hard to tell who is who and which is which. Sometimes I'd remember and pin a little piece of paper with the info, but invariably those fall off.  So, I used my alphabet stitches and stitched it out right onto the selvedge. My plan is to cut from the other end first and once I get to the stitched area, I'll trim the label off, and baste it to the remainder pieces.


Sunday, October 02, 2022

Illustrated October


Starting out on the first of October, here's what my design wall looks like. Kind of a crowded situation.

The eight pieces for the four green pillows are quilted and pinned up on top of the Ruby+Bee challenge quilt top. It's a lot of just about onto the next stage kind of transition happening. So...onto the illustrated to-do list for this new month.

October's Illustrated To-Do


1. First on the list just because they're on the top of my work surface and closest to done. Finish the four green living room pillows, add zippers, sew up sides.


2. Ruby+Bee challenge. Square up, add border to finish quilt top, Make backing, quilt, finish making binding and add. Photograph and enter.


3. Japanese Houses - Sandwich the quilt, quilt it, bind and label.


4. Orange Bullseye- Make a backing and binding, sandwich, quilt, bind and label.


5. Do some printing, Gelli plate or otherwise for the SAQA printers/quilters exhibit.


6. Catch up on making Pantone Project blocks.


7. Now that it's maybe hopefully getting a bit colder, back to working on the Y.E.S. coat.


8. Hand stitch the two blocks for the SJSA quilt that BAM is helping with.

Tuesday, May 28, 2013

Gelli Plate Printing

I just got one of these Gelli printing plates recently and have had a lot of fun so far playing with it.  I never did get around to trying the whole gelatin plate thing where you mix up a batch of thick gelatin and then it kind of breaks down as you make prints.
Everything I learned about the technique but never actually tried is in this great book by Rayna Gillman  I just used all the techniques in the gelatin monoprinting chapter with a Gelli plate instead.  This thing is pretty substantial and durable and seems to be intended for many reuses, although likely not a forever kind of print plate such as a piece of glass.


It's all about layers, this video shows how to do it really clearly.
I'll take pictures of my papers and fabrics and post them soon. But go get yourself one of these things, I bought mine at  Blick Art Materials.