I was given this wood block (wall treatment I think) sample by Bron, from one of the recent
FabMo distributions. I thought it would make an interesting surface to do some
ShivaPaintStik experiments with. Consider this a bit of a tutorial on playing with PaintStiks.
When working with the paintstiks, I always try to remember to cover up most of the surface I'm working on as they tend to smear and get pretty messy. As an aside: I have been re-using the same white pieces of butcher paper for a while now for this purpose as well as fabric painting and some of them are getting pretty interesting looking all on their own...
So, I started out with ironed flat pieces of plain white pima cotton. I've found that you really want the fabric flat if you want the image you're trying to capture by rubbing to come out clearly. If you don't care, then go for the wrinkly look and see how it looks!
I didn't tape down the fabric to the surface just held the edges taut with two fingers as I ran the first color of paintstik over the surface. If you want to tape the fabric down use that blue painter's tape or cheapie masking tape, both work pretty well for that.
When you first use a paintstik you have to rub off the dried skin that forms on the exposed area, I just use a paper towel for this, twist gently and it peels off very easily. And keep those paper towels around, because you'll need them to wipe your fingertips off on as you keep working.
I found that it was a bit hard to keep the fabric in the exact same place, but I liked how the slight shifts looked with the additional color. If I was aiming for perfectly lined up shapes I would definitely bothered to do some taping down.
Moving the fabric around to get the surface covered with marks and trying out various color combinations. The overlapping colors make great combinations and when the paintstik color hasn't dried you can smear it together with your fingertips to soften the edges of the marks and blend to make new combined colors.
I like the overlapping areas and the not exactly lining up of the squares. As you work with a paintstik and start using it up, you'll have to peel off bits of the paper sleeves (just like with crayons!). Don't do the whole thing or too much because it will just dry out and be unusable.
Flipping over the wood block, hey surprise, surprise, there are circles instead of squares. A two for the price of one tool, gotta love it!
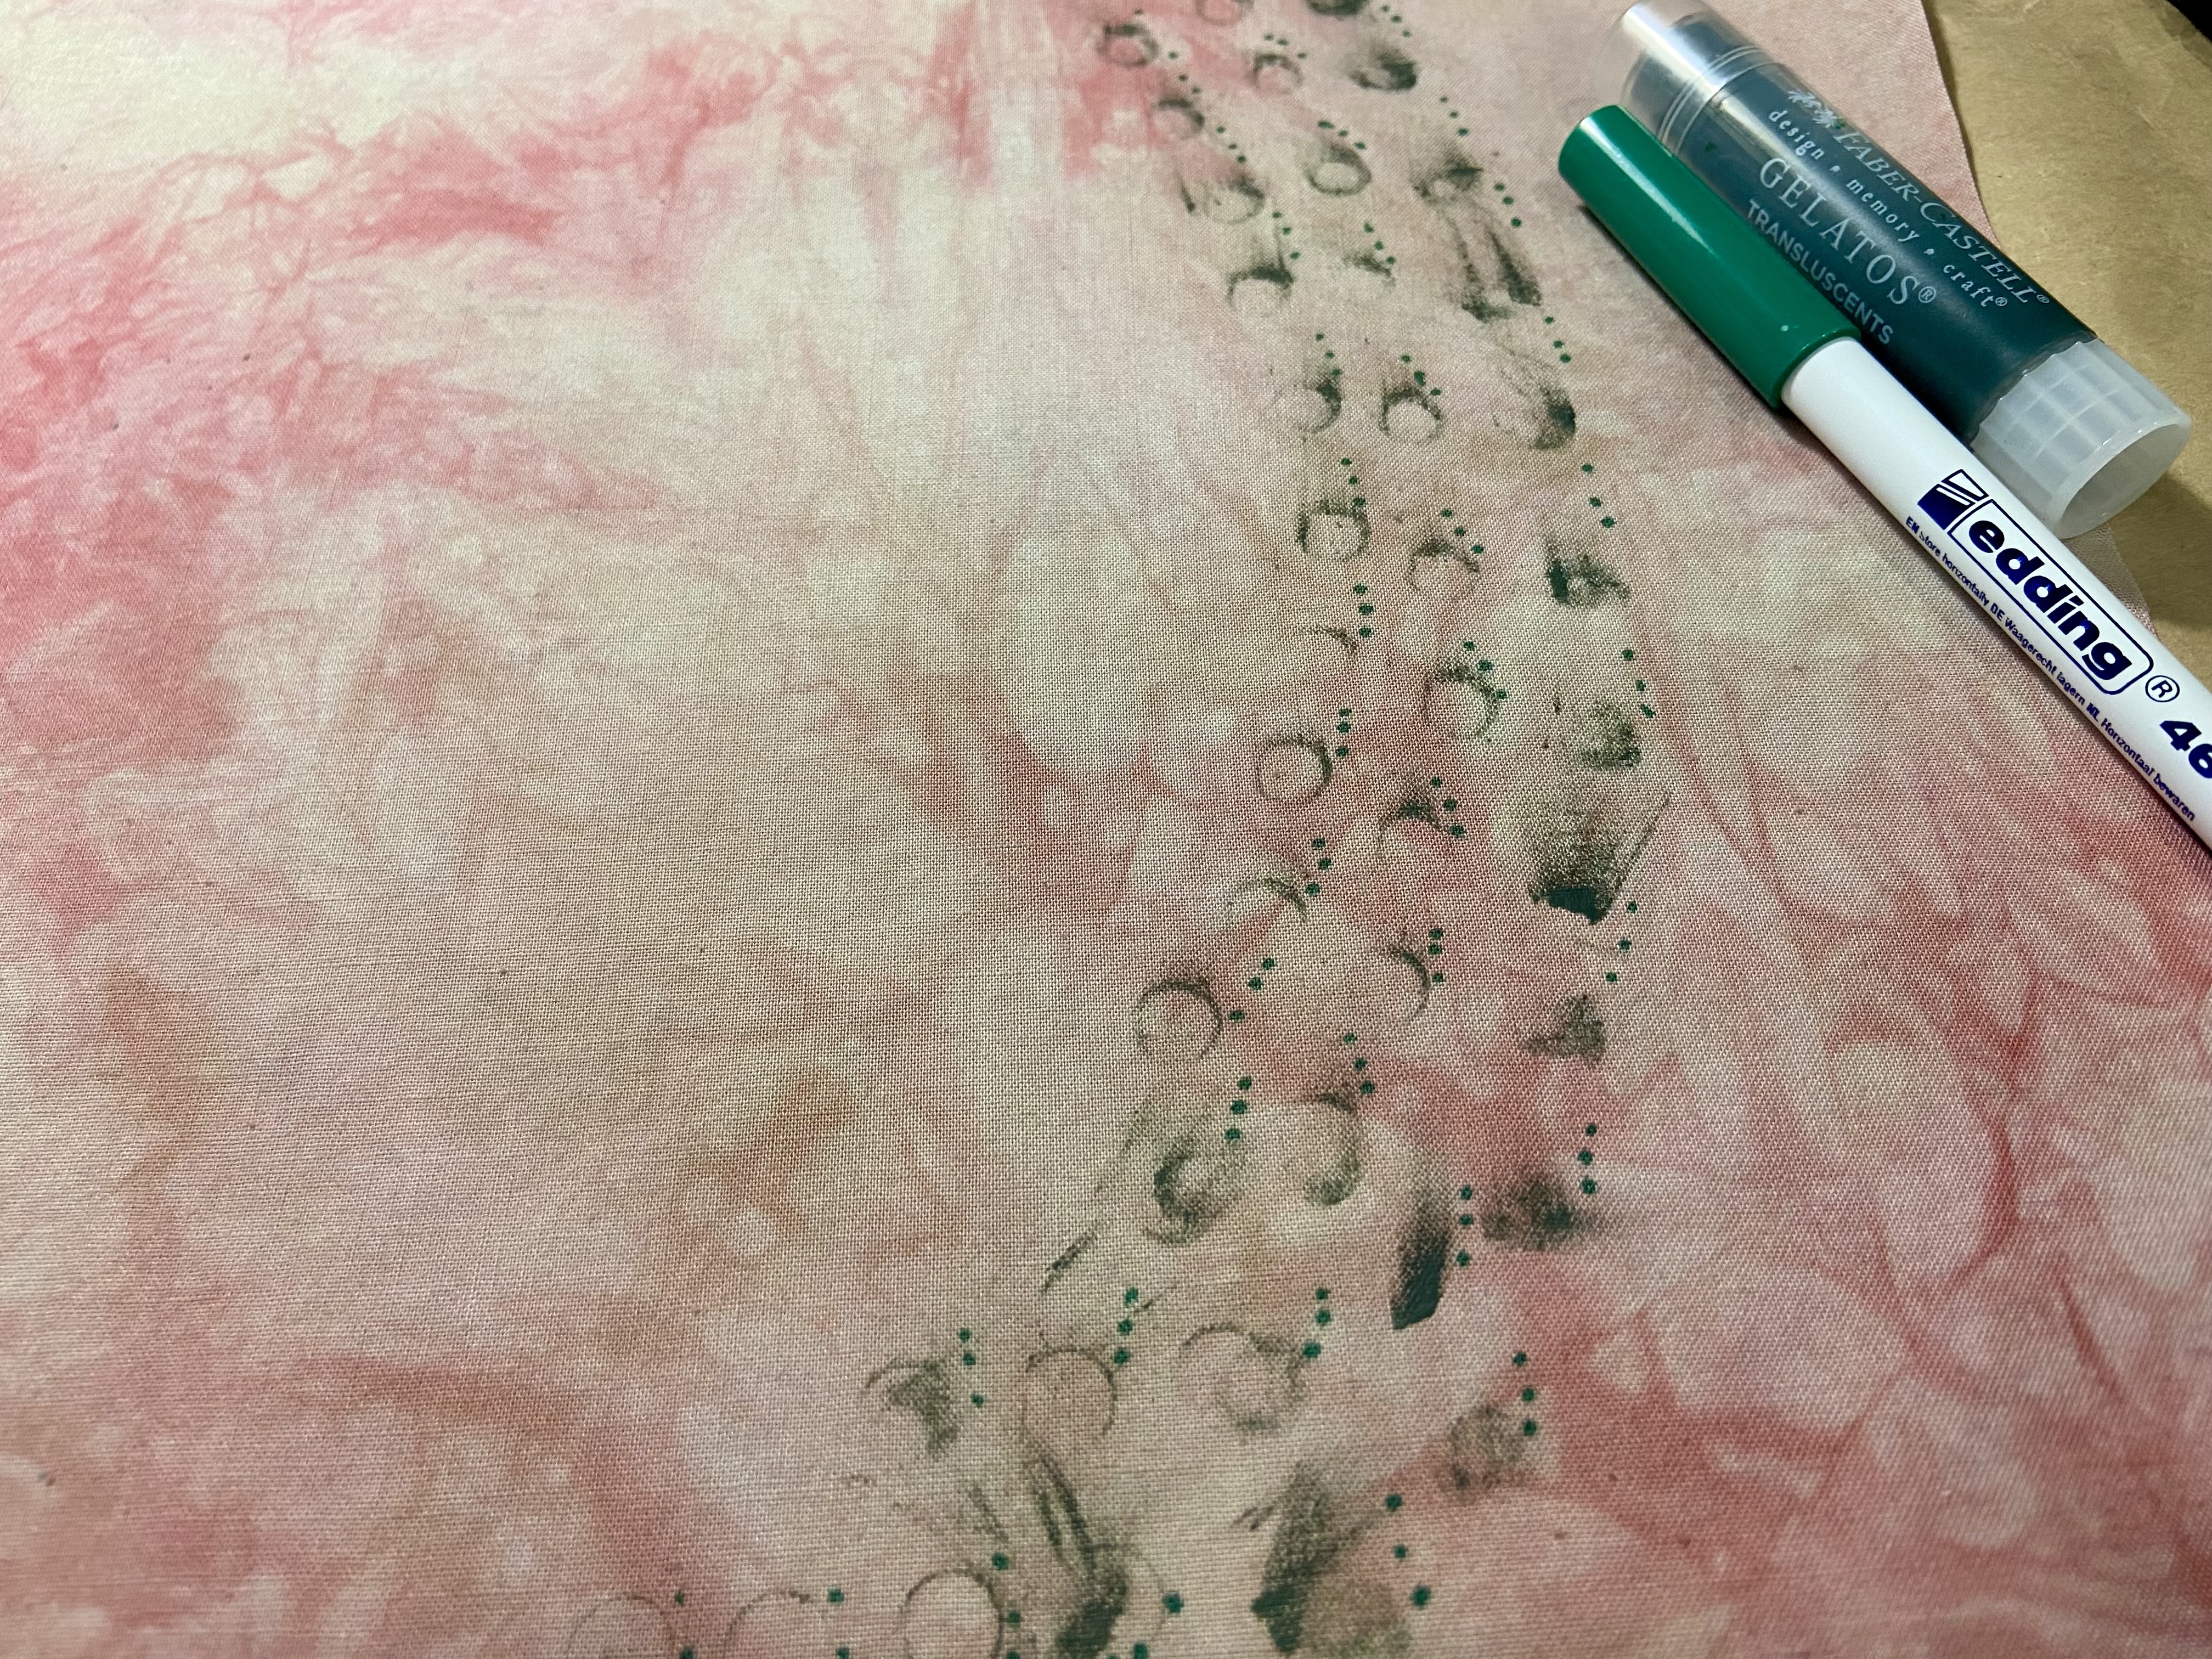
I like how the circles side looks a lot, especially how some of the circles get filled in slightly with color as the fabric gaps down a bit over the larger holes in the surface allowing the paintstik to make a mark.
Changing direction with color to escape the grid.
Two experiments on one piece of fabric. Rows of color and filling in most of the surface with color. That green line down the middle was made with some fingertip smearing of a bit that broke off the green paintstik. Didn't want to throw it out, so I used it up by adding an additional mark of color to the surface.
Instead of a regular grid pattern, I shifted the fabric slightly over the wood block as I went over each column of shapes. I like the more random look and the combination of circles and squares in one piece. I could see a dress made out of this fabric with the circles on the bodice and the squares in the skirt.... With this piece of fabric I guess I could make that dress, for a Barbie doll maybe.
All the fabrics up on the wall together. Very interesting and fun experiments all in all. I think next time I'll try using some already colored fabric to not end up with so much contrast with the white background.
After several months of curing, the smell has finally gone away enough so that the fabrics are usable for me. I don't know if I'm extra sensitive to the smell of the paintstiks, but I have a hard time using fabrics I've done right away, especially if they are in a piece that I'm ironing a lot. Seems to release a lot of the carrier oil smell.
What do you think? Have you tried these Paintstiks yet?








 I'm challenging myself to use a lot of different materials this year in the art that I create. I know, I know, I already do that, but it is my intention that I will be make it a real emphasis this year. I'm interested in exploring what else I can incorporate into the work that I already like to make.
 I may use it as a surface design tool, perhaps as a new rope-wrapped stamp. Or it may be a design element, part of a border, maybe an edge treatment, or cut up into pieces for embellishing. We will see what I come up with!

 One of the coolest things I've seen in a while, was friend Debbie's presentation at our recent CQFA retreat. She showed off some of the fabrics she created in a two week summer class called "FrankenFabrics" at Cabrillo College with instructor Richard Elliot. All of these are polyesters of different types which are secured around something like marbles, blocks, rocks and then boiled. The shapes created are then set into the fabric permanently until you boil it again.
 Well, I just had to try this out for myself. I found a nice, yet teeny-tiny silk skirt with a polyester crepe lining at the local Goodwill, and took it apart. This is a picture of The Boiling Of The Fabric! Marbles were secured at regular intervals with small rubber bands. Boiled for about 20 minutes.
 This is what the whole piece looks like when it is hung up. Pretty interesting texture was achieved.

 I'm looking forward working with this flexible and strange fabric, making an attempt to corral it into a more 2-D shape. It will be challenging I'm sure. One thought I've had is instead of stitching in and around the shapes by machine I'll tack it down by hand by stitching on beads in and around the "grape shapes".
